Rush Camera System let's you save hours of work for creating the camera views you desire.
It has two versions:
1. Rush Camera System ( v1.1 available )
2. Rush Camera System Lite
The lite version doesn't include the spline cameras and camera angle based movement feature.
v1.1 notes: Added Resident Evil and Cam Based Movement characters, fixed a bug where "Look at Spline Direction" doesnt work.
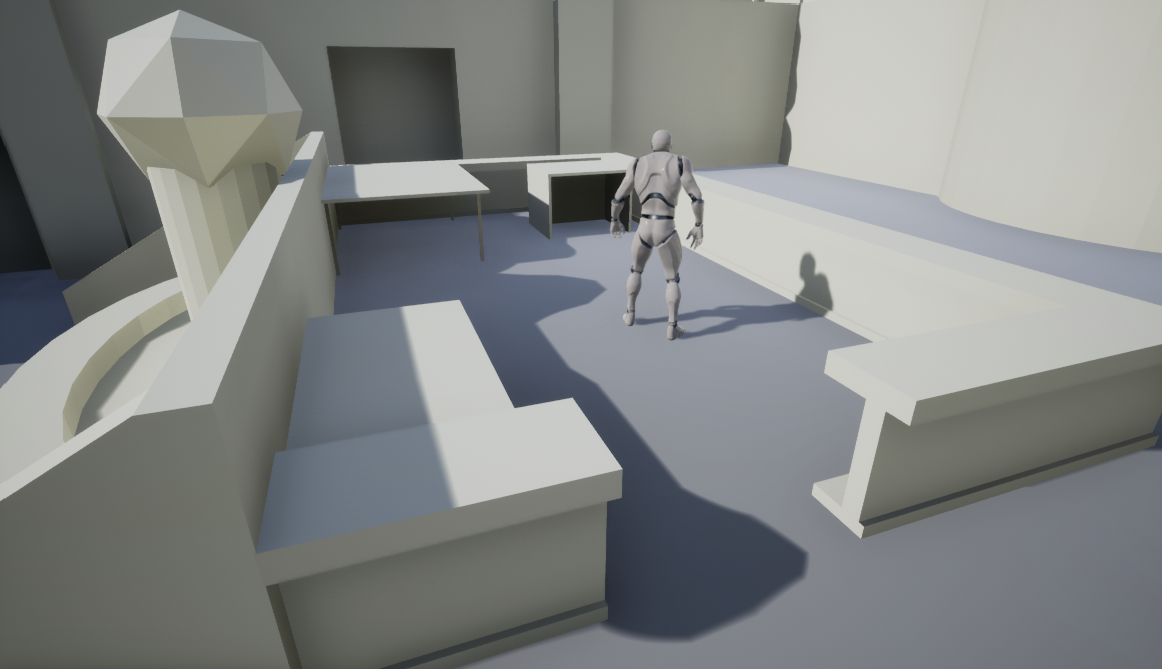
To see some examples of what you can do with the Rush Camera System, Resident Evil 2 RPD Scene is recreated and used for two different demonstration. One shows the way you could create the original scene the other shows some custom cameras to demonstrate what you could do more with Rush Camera System. They are located at Demonstration/Maps path.
The names are: L_Re2RPD_AlternativeCams and L_Re2RPD_OriginalCams
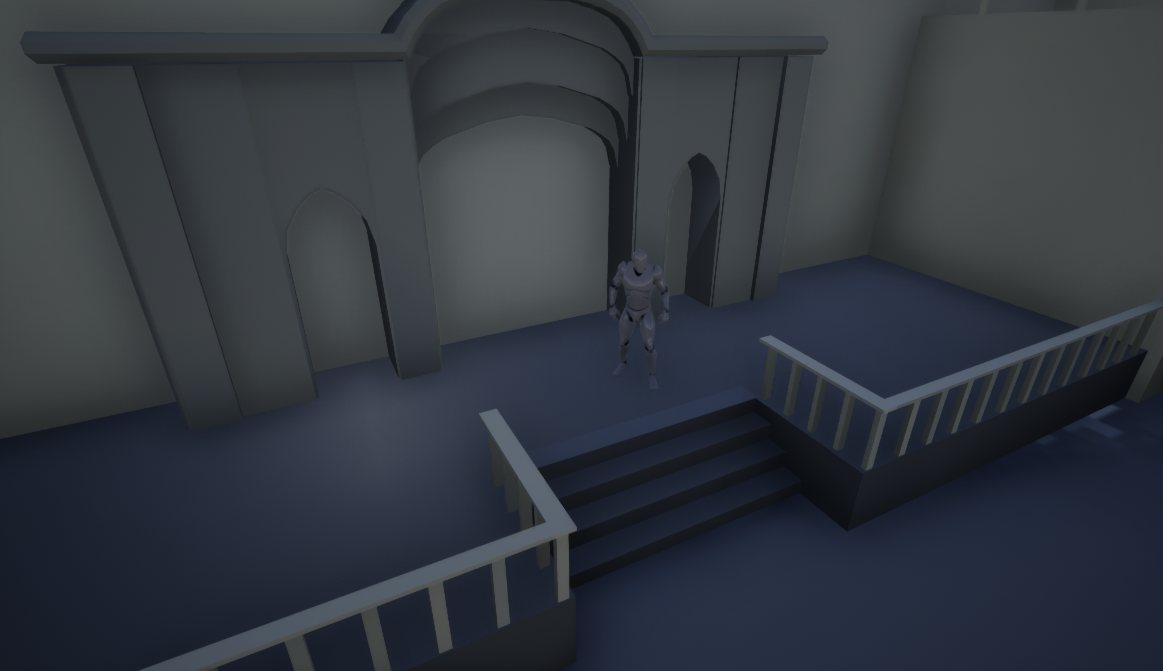
You can also open the L_Tutorial map for a tutorial to experience the Rush Camera System in action while learning it's way to work.
Here are some videos for you to have an idea about the system.
Let's go into the details now.
First of all, you need to set the player state class to BP_RushCamPlayerState ( You can do it from the World Settings or from the project settings. )
If you don't want to change your player state class don't worry,
BP_RushCamPlayerState is inhereted by the BPI_RushCamBase so you can easily
implement it's functions to your desired class.
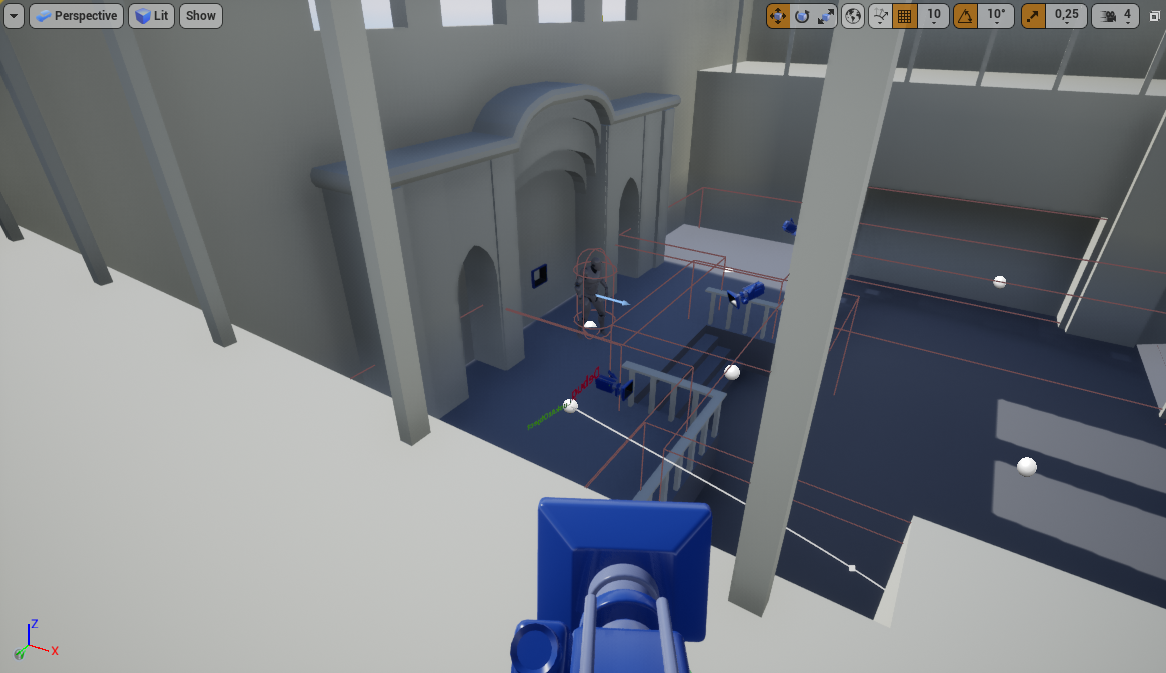
1. Drag and drop a BP_RushCam to the scene,
Set the position and rotation of the camera,
check it's options and set them to your needs. Here are the options available:
. Is Default Controller Cam: This option sets the camera to player character's camera. So it doesn't matter which type of camera it is, the player character's camera will be activated. If this option is enabled the camera mesh will turn into a text which is "DCCam" since it will not be used as a camera.
. Look at Player: Camera will rotate to keep the player in view.
. Look at Player Offset: The offset starting from the player's position. You may want to use this option to make the camera look a bit more right side of the player for example.
. Blend Time: The time that takes for transition from the previous camera. This option will make the previous camera look like moving to the new position.
. Rotation Interp Speed: The speed of the camera rotation.
. Spring Arm Length: Length of the spring arm that prevents the camera hitting the walls.
. Show Look Target: Displays the camera's look target to make the alignment easier.
2. Drag and drop a BP_RushCamTrigger to the scene,
Set it's position and scale as you like, this trigger
will update the camera on collision with the player.
To make it work you will need to set the camera from Activate Rush Cam dropdown. The options of the BP_RushCamTrigger are below:
. Activate Rush Cam: Camera to activate on collision with player.
. Activate Rush Cam Spline: Spline to use on collision with player. ( Splines will be explained on Spline Cameras section. )
. View Priority: The triggers may include other triggers within them to activate different cameras, here you will set the priority of them. 1 is the highest priority. 0 is the lowest. So order of triggers with priority 0,1,5,4 would be 1,4,5,0
. Reset Mouse Rotation in DCCam: While entering a trigger which it's "is Default Controller Cam" option is enabled, this option resets the mouse input so the camera will be looking straightly forward.
Note that spline cameras are not included in the lite version. The usage is same as the other cameras but with one difference. You will need to drag and drop a BP_RushCameraSpline to the scene and make a path as you like for the camera. Then set the Activate Rush Cam Spline dropdown together with Activate Rush Cam from the BP_RushCameraTrigger options.
In this case the BP_RushCam's rotation is used as initial rotation when the spline is activated.
Spline Options:
. Debug Mode: Makes it possible to edit the Camera Behaviors (will be explained below) at runtime. They can't be normally edited in runtime because they are cached at the construction script to gain performance. Should be enabled before the game begins or it won't have effect. Use this only for testing. Make sure it is unchecked in the final build.
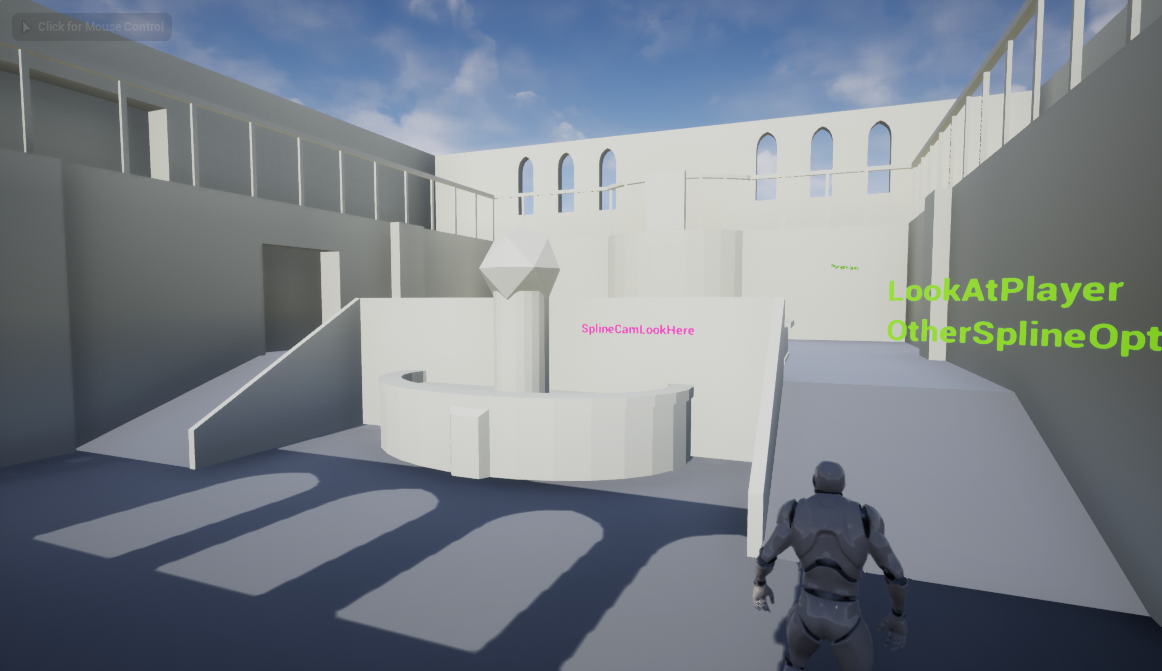
. Hide Texts in Game: Hides the text representations of configured Camera Behaviors. You can't hide them if debug mode is enabled.
. Blend to Closest Point: Makes the camera move to the closest point on the spline instead of the starting point when the related trigger is collided by the player.
. Location Interp Speed: Speed of the camera movement along the spline while following the player.
. Position Offset: Offset of the camera position which when zero, is the closest point on the spline considering the player's position.
. Disabled Text Color: Camera Behavior's text color when it is disabled.
. Enabled Text Color: Camera Behavior's text color when it is enabled.
Camera Behaviors:
Two of the options here are included in all of the Camera Behaviors so they will be explained for once here:
1. enabled: Enables the behavior
2. optionLocation: Sets the behavior's starting point. ( You can either enter the value manually or drag the mouse over the value to the right and see the position change in the viewport at the same time. )
- Look at Players: Makes the camera look at player when the behavior's point is reached
. allowBackwardOffset: If the player stays behind the camera this option lets it stay that way. So instead of moving camera back through the spline it will just change the rotation. You may consider this as change of the spline direction. To make this work better you may need to lower the location interp speed.
- Look at Objects: Makes the camera look at a desired object at the scene.
. LookAtObject: Object to look at.
. LookAtObjectOffset: Offset of the look.
- Look at Spline Directions: Makes the camera look at the direction of the spline.
. allowBackwardOffset: If the player stays behind the camera this option lets it stay that way. You may consider this as change of the spline direction. To make this work better you may need to lower the location interp speed.
- RotateToWorldRotations: Makes the camera rotate to specified World Rotation.
. WorldRotation: The world rotation for tha camera to rotate to.
- RotateToInitials: Makes the camera rotate to initial rotation which is the rotation of the camera in the editor before starting the game.
- Other Spline Options: Options to work together with previous options. They can't be used together but you can use Other Spline Options with any of the previous ones together.
. ignorePreviousLocationInterpSpeed: Ignores previously active location interp speed and uses newLocationInterpSpeed
. newLocationInterpSpeed: The new speed of the camera movement along the spline.
. ignorePreviousRotationInterpSpeed: Ignores previously active rotation interp speed and uses newRotationInterpSpeed
. newRotationInterpSpeed: The new speed of the camera rotation.
. ignorePreviousPositionOffset: Ignores previously active position offset and uses newPositionOffset.
. newPositionOffset: The new offset of the camera position which when zero, is the closest point on the spline considering the player's position.
There is a variable in the BP_RushCamPlayerState called setDirectMouseRotation. It makes the mouse rotate the player directly on mouse input which wouldn't do it if you didn't use the Rush Camera System.
Other than that in Rush Camera System v1.1 there are two more movement options provided with two Character Blueprints:
1. BP_RushCamAngleMovementCharacter: Normally with or without the Rush Camera System inputs are applied considering the player's position. It means that the direction input you sent would be calculated according to the player's direction. When you hit "A" for example player would move to player's left. This character blueprint changes the way this system work. "A" moves the player to camera's left. "D" to the right, "W" to the camera's forward, "B" to backward. Same goes for the analogs on the controllers. ( Tested only with PS3 Controller using SCP Toolkit )
2. BP_RushResidentEvilMovementCharacter: This simulates the movement from resident evil games. "A" and "D" buttons rotates the player instead of moving it. "W" moves it to player's forward direction, "S" to backward. Same goes for the analogs on the controllers. ( Tested only with PS3 Controller using SCP Toolkit )
ALSV4 integration is quite easy :) Follow THIS tutorial.
This is all for this documentation. Have a nice development!
